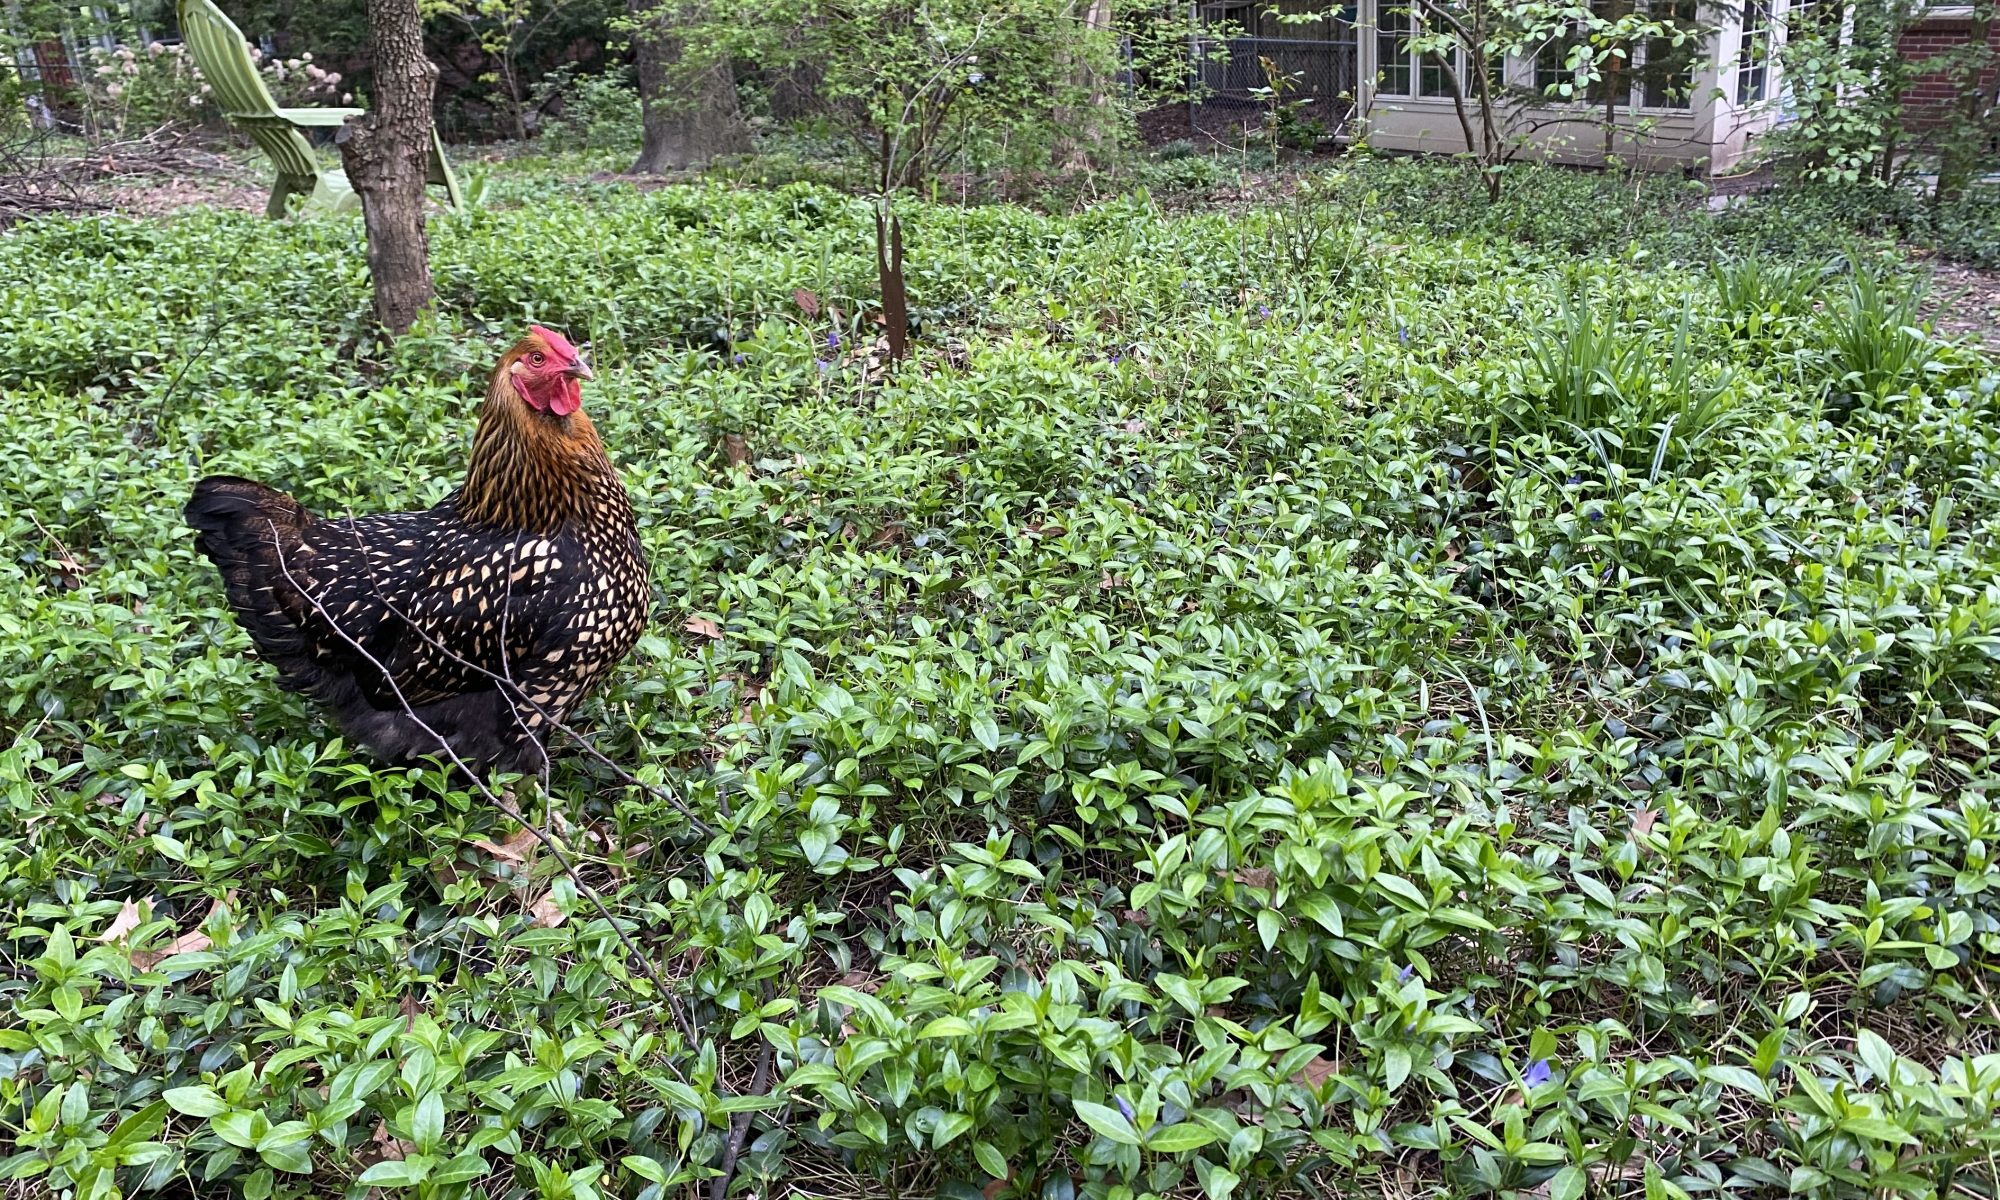
With the weather finally warming, and the birds growing super fast, our minds went to finishing some of the loose ends so we can move them to the coop.
On the list: build roosting bars for inside the hen house and install brackets for the feeder and waterer.

Roosting bars
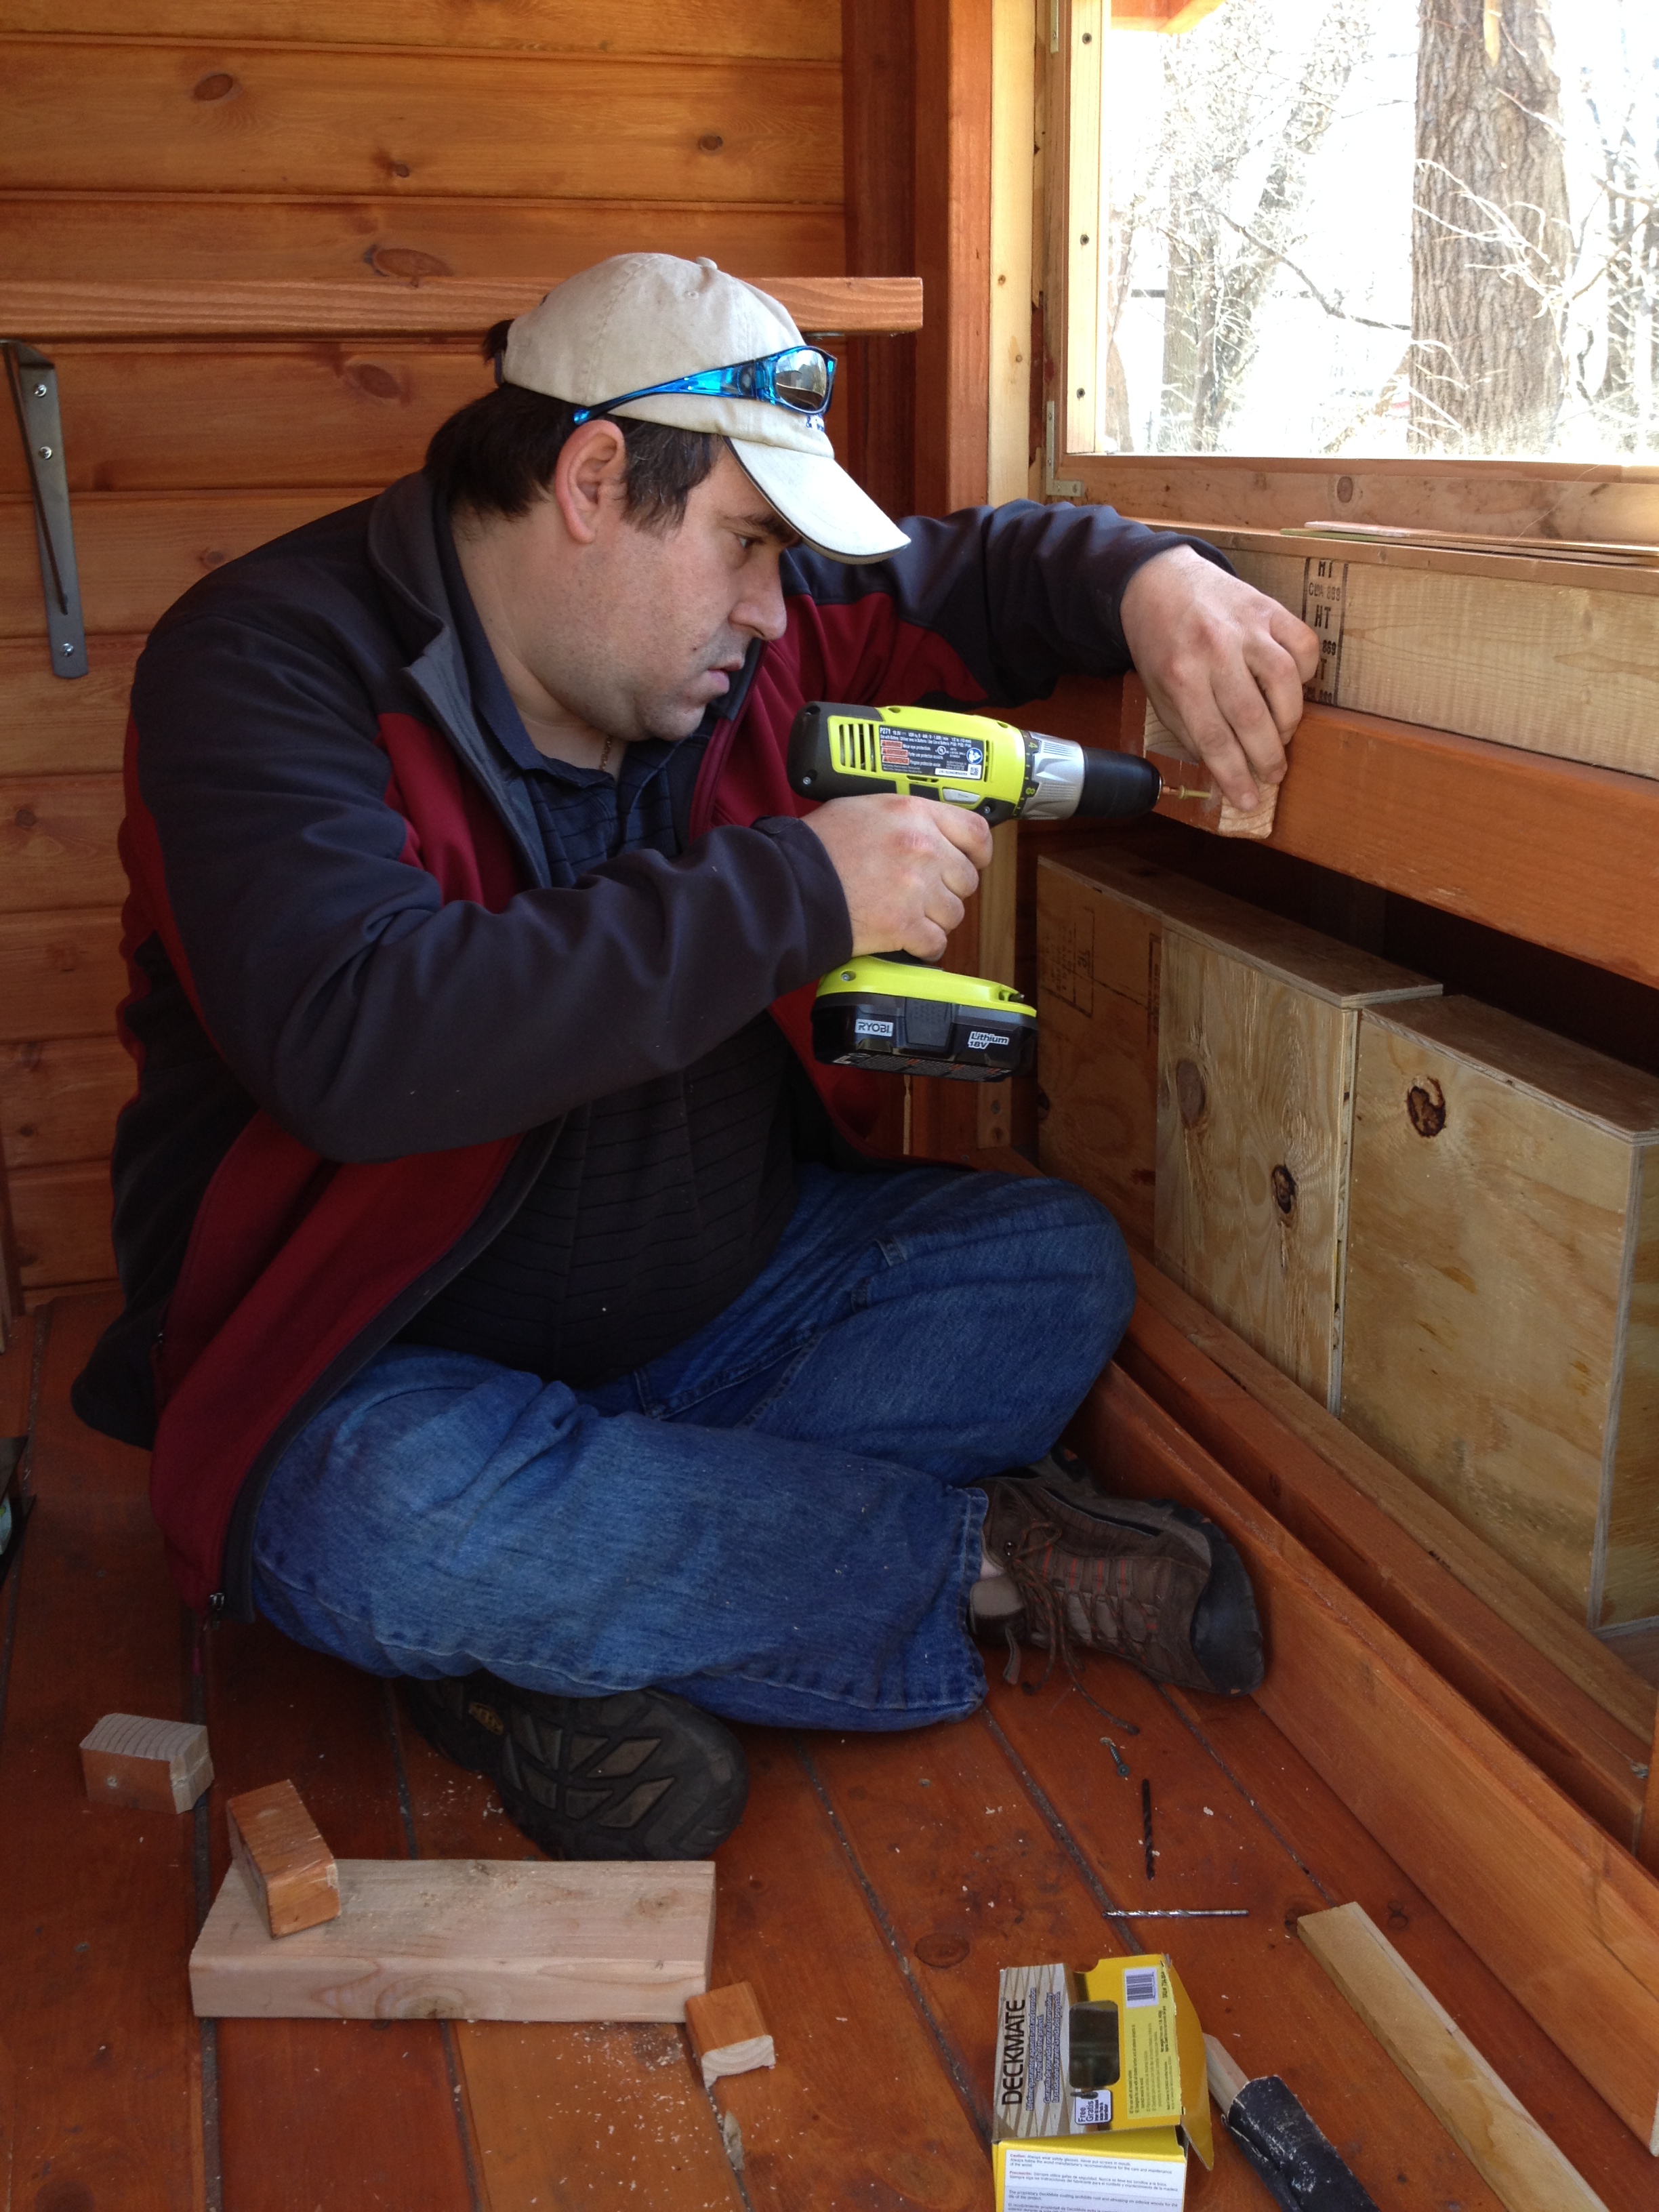
Since the highest roosting bar will be next to the guillotine chicken door, we couldn’t attach the bar to the wall on both sides. So instead, I bought two 16-inch brackets that we installed to the back wall of the hen house, then screwed a 2×4 to the top. We placed this roost 36 inches off of the floor.
The second roost we placed lower, at 25 inches, and about 15 inches in front of the back roost. The reason for the spacing is to make sure roosting chickens on the high bar can’t poop on the chickens roosting below.
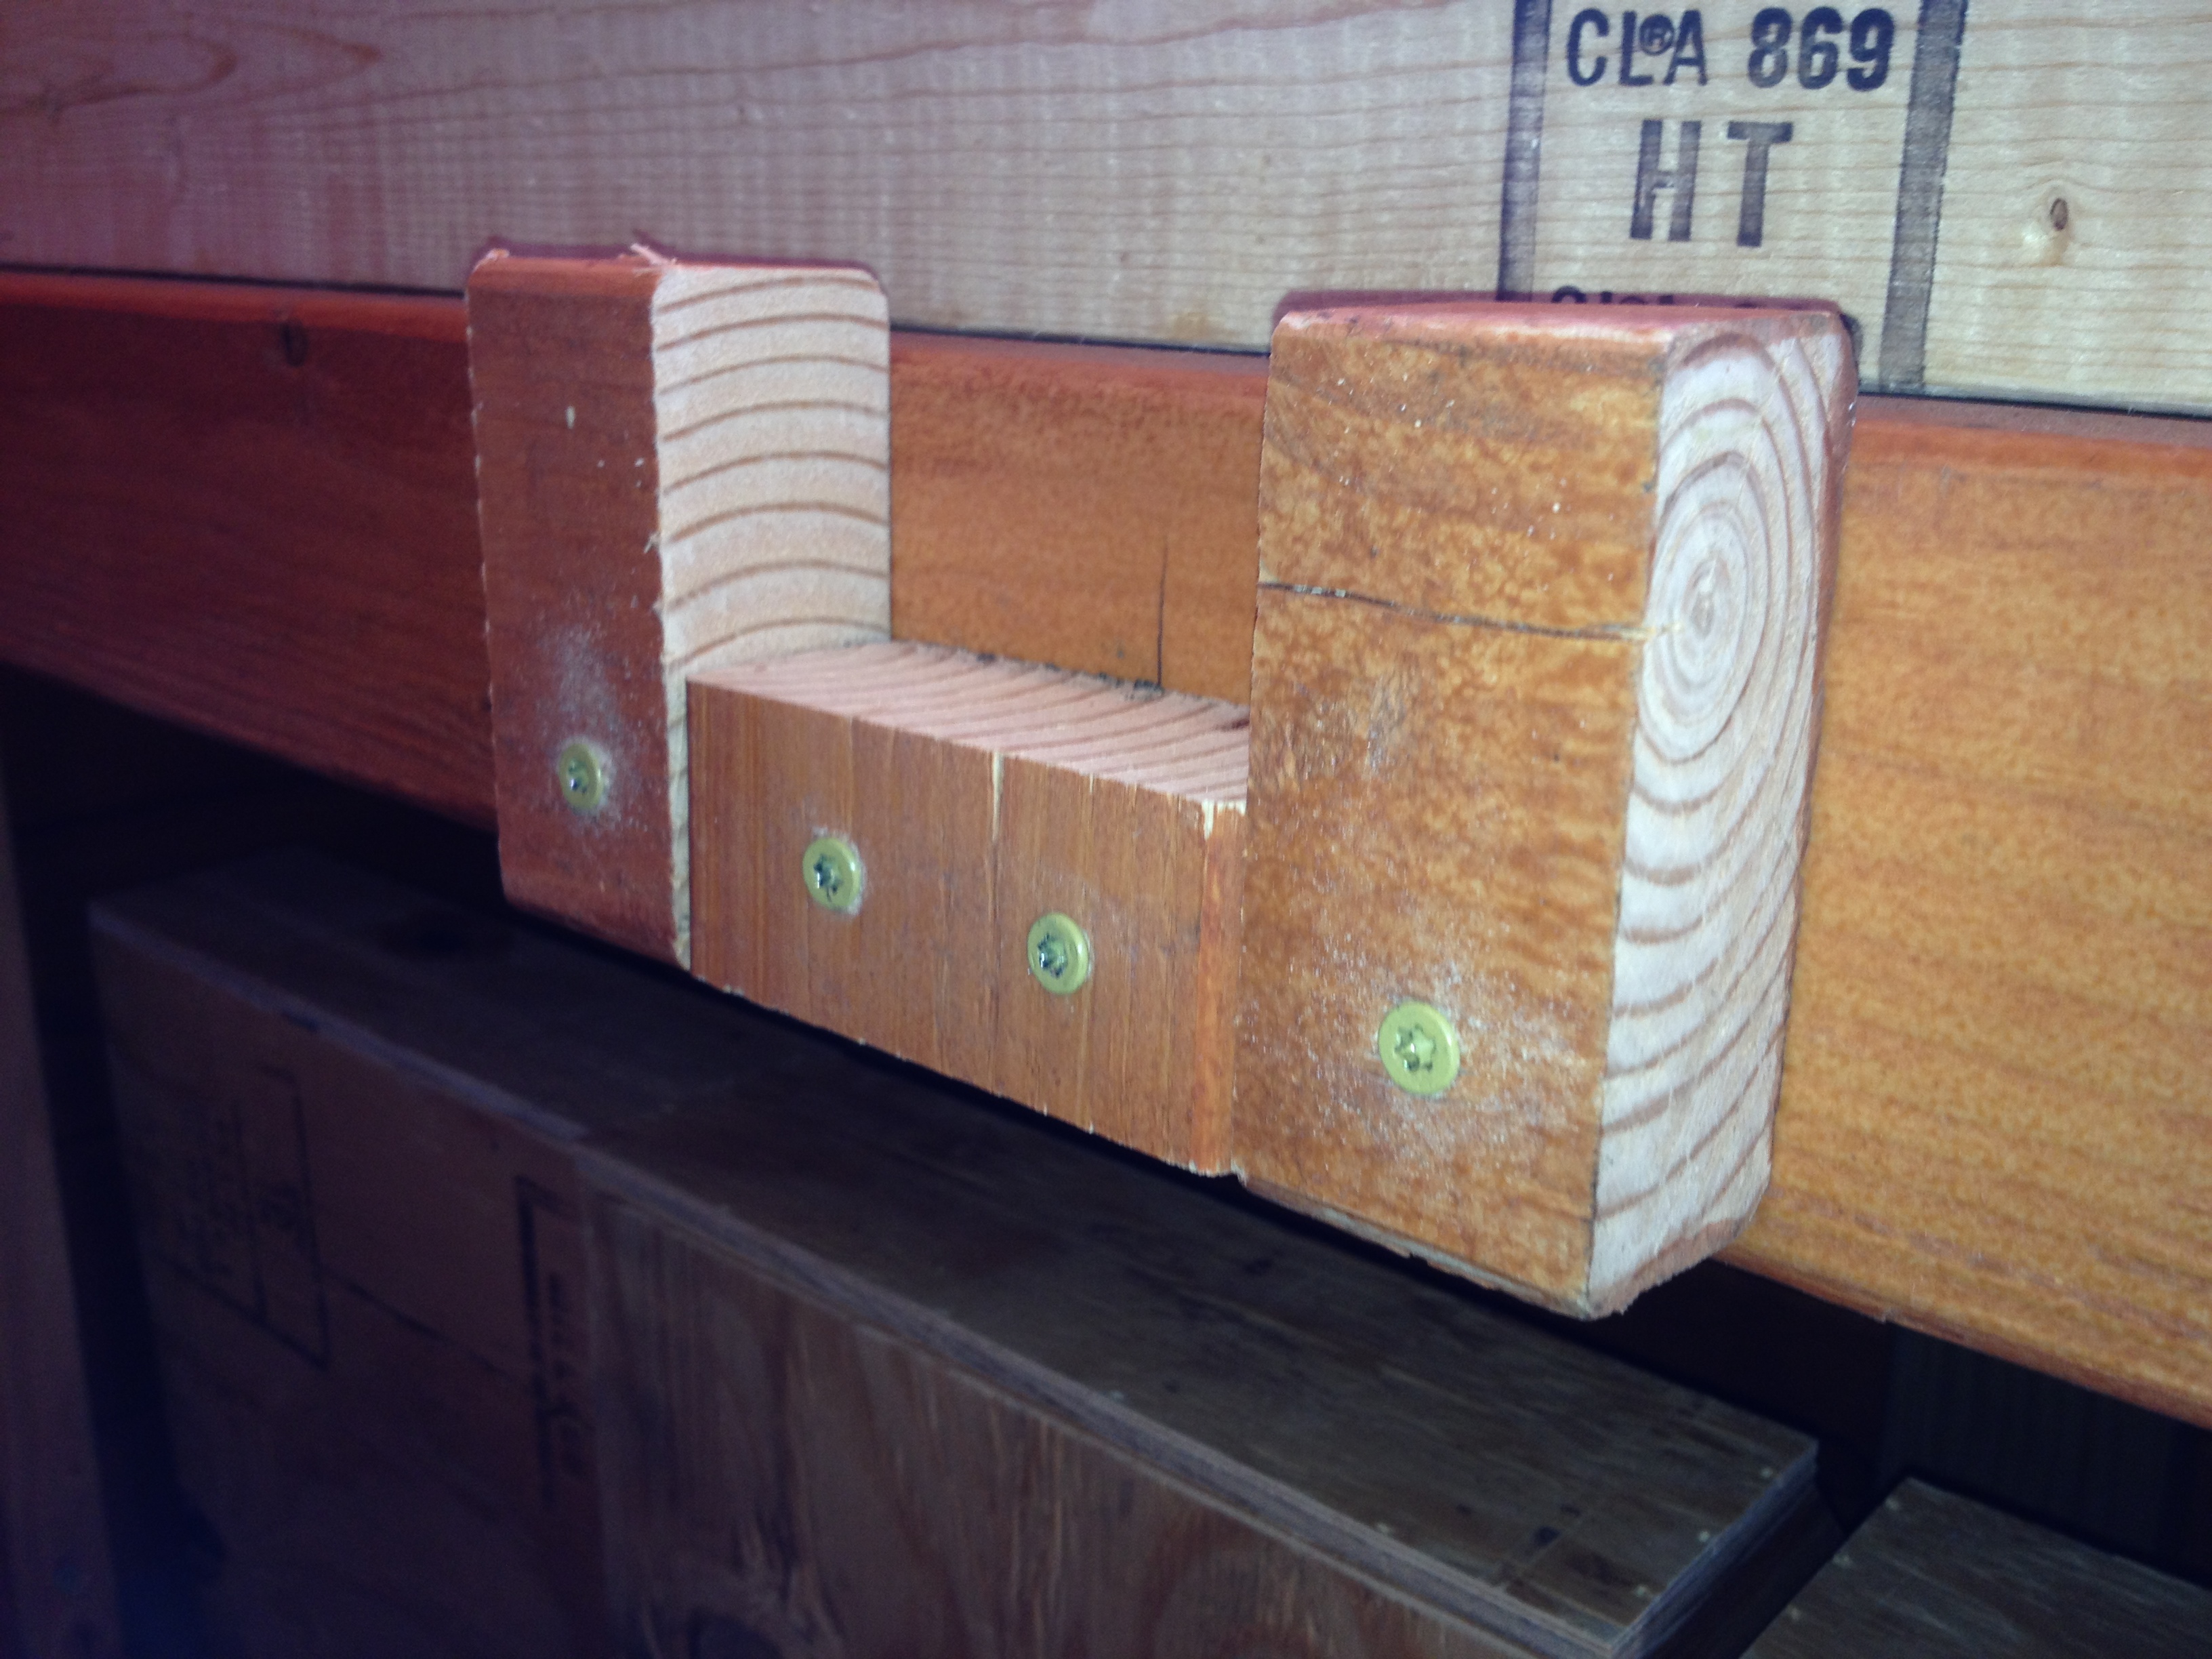
Matt installed this lower bar attaching to both walls of the coop. To secure it, he fashioned a small brace on both sides using scrap wood.
We chose to have the wide part of the 2x4s facing up, since I had read that chickens like to sit on their feet while they sleep (and probably don’t want to worry about balancing on a skinny piece of wood as they doze). I’m all about making my chicks more comfortable.
Before we transition the chicks out to the coop, we will also make a shorter “nursery” roost that will be easier for them to climb on, probably about 10 inches tall. Once they get bigger, the other roosts will be easier for them to use.

Feeders
Installing the brackets for the feeder and waterer was pretty straight-forward. Matt screwed in one bracket close to the ramp, then we added a second one so there would be about a foot between the two containers. I wanted to make sure the chickens could comfortably walk between them.
We bought 3-foot sections of small-link chain to hang the feeder and waterer. However once we had everything ready to go, the hooks we bought for the chains wouldn’t attach to the bracket. So that’s something we will have to troubleshoot. I’m sure if we head back to a hardware store, we’ll find some sort of hook that will work.
The chain works well because it is adjustable. This is important so we can raise the containers as the chicks grow. The food and water should be at beak-height. Right now they are bending low to eat and drink from their baby containers, but I know they forgive me. It won’t be for much longer.
I’m connected!
As a closet tech geek, I’ve been quietly monitoring the temperature inside the coop for a couple months. I use the AcuLink Internet Bridge and actually have three sensors, including a second one that’s on the outside of the coop and a third that I keep in the brooder. Sadly, I’ve been having some trouble with my coop sensor since shortly after I got the weather station.

I’ve spent hours on the phone with super pleasant and amazingly patient support techs, none of whom could solve my dilemma. I narrowed the problem down to this: the wire mesh in my coop is causing interference and my coop is just too far from the internet bridge.
So today, I got serious about fixing the issue. It was a long shot, but my last shot.
I bought a 25-foot ethernet cord, and fed it into my basement. Then I drilled a hole into a small storage room and fed the cord through. Next, I drilled a hole through my kitchen floor, and pushed the ethernet cord up through. I plugged in the internet bridge, and then the ethernet cord. I watched as the blue light started to flicker. This was a good sign.
Almost immediately, the brooder and the outside coop sensors appeared on the dashboard. But not the inside coop. I waited another five minutes, then refreshed.
To my amazement, it worked! For over three hours, I have received regular updates of temperature and humidity inside the coop. I’m totally crossing my fingers that the updates continue to arrive.
I really don’t want to drill another hole in my kitchen floor.

All lit up
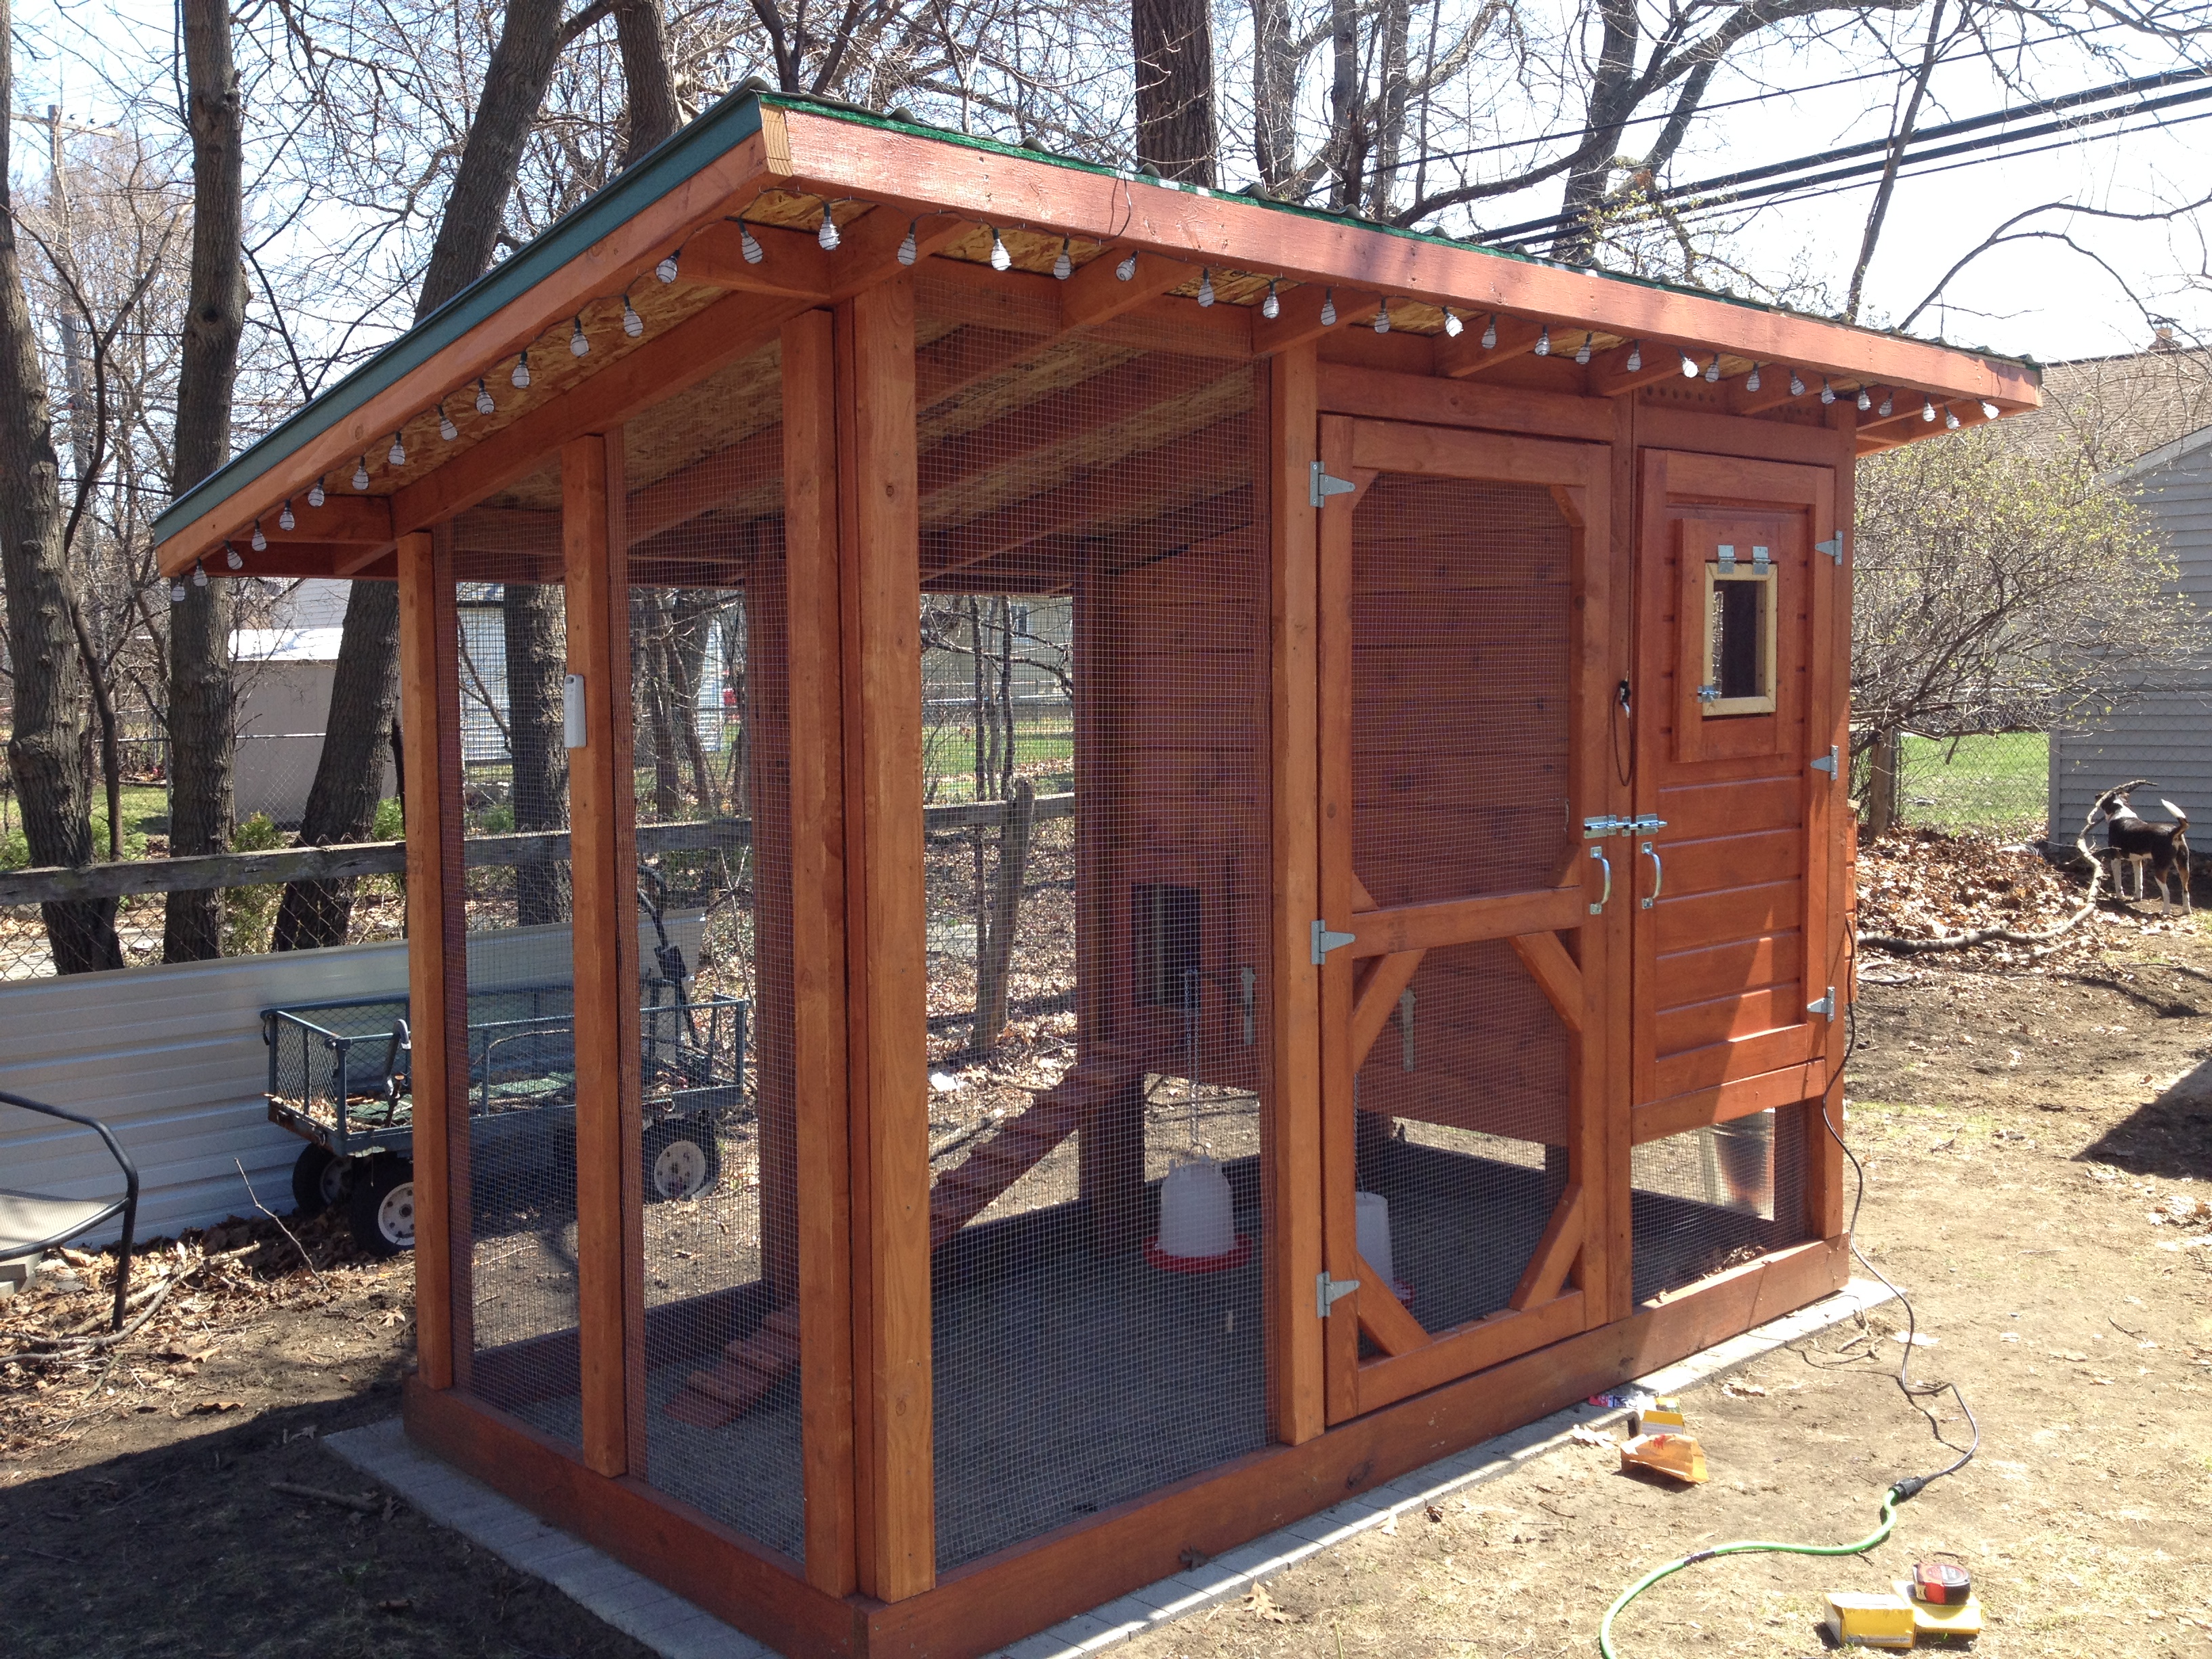
To top off the day, we added solar-powered party lights along the roof line of the coop.
Matt loosely stapled them into place, just in case we need to replace a string. We had enough to go around the north-facing side, and the front of the coop. (Somehow we failed to calculate the exact length of what we would need to go all the way around the coop.) We plan on scouting out a couple more strings to finish it off.
And now we wait for the sun to set. We’ve done enough for one day.
Of course, as darkness descends, you’ll catch me peeking out back.
I want to see the coop all lit up!

Love the party lights!
LikeLike
We just went out there, and they are all lit up! The light even fills the run area. I’m super surprised, and delighted!
LikeLike